Tracklaying
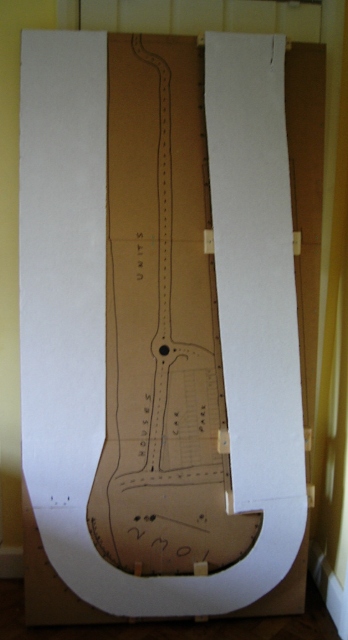
Before starting to lay track the first job was to cut out and raise some of the trackbed, as I wanted to avoid the "flat-baseboard" look as much as possible without using the open construction method. I also needed to run the mainline on a downhill gradient from the board-join to the north-end tunnel to minimise the uphill gradient for the branch. As you will see later the gradients to and from the branch still ended up a little steep, but the 'up' gradient to the branch is only as steep as the real life rail-overbridge approach at Welwyn Garden City station, and the 'down' gradient from the branch is not much steeper and trains will never need to go up it anyway. The joys of compromise!
The station area is level as is the dairy yard, the mainline runs downhill to baseboard level from the station as stated, and the branch is raised approx 2" on a level plane into the fiddle yard. It was also decided to angle the dairy yard slightly to give a more natural look rather than running parallel to the baseboard edge. The entire trackbed was covered with Warmaline 2mm polystyrene glued with PVA in an effort to reduce sound-drumming through the baseboard, although this hasn't proved too effective in practice. Oh well, railways are noisy places in real life anyway!
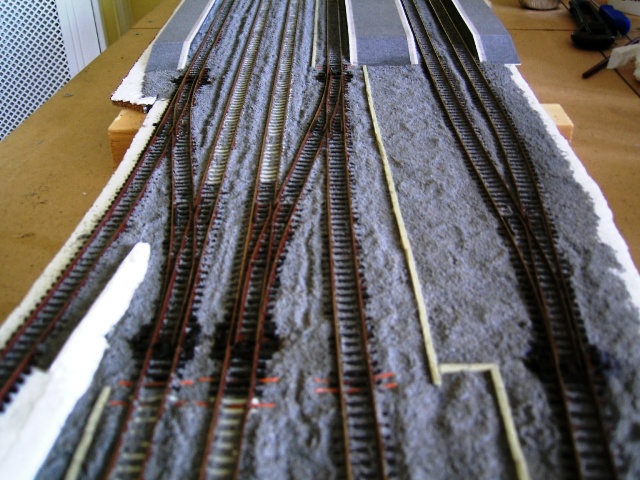
The wide area to the left is the fiddle yard. |
 |
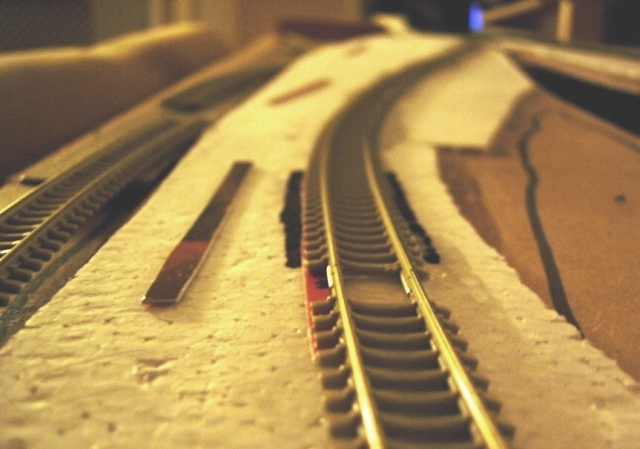 |
There are many methods to track-laying, the merits of which I won’t go into, but I chose to avoid fiddly pins and glue my track down instead. Each piece of track was temporarily screwed to the board with self-tappers between the sleepers, and holes marked for droppers and point-motor pins making sure they avoided the bracing below. Once the dropper wires had been soldered to the underside of the rails the area of board was pasted with PVA glue, avoiding areas of tiebar movement on points, and the track piece fitted using the screws again for alignment but being careful not to squash the track into the trackbed. In the case of long flexi sections the track was also weighted down with household food tins (cat food to be precise – nice and heavy!) to ensure good adhesion. This was especially important on the S-curves on the north board as these have also been super-elevated to provide a realistic 'cant' to the track to enable high-speed running. This was done by putting strips of old credit card under the outside sleeper edges, the thickness of which was calculated to be perfect to give a prototypical 4 degree angle in N gauge!! I have used concrete-sleeper style track for the main running lines and wooden-sleeper style track everywhere else on the scenic area as this represents the real railway at the time. |
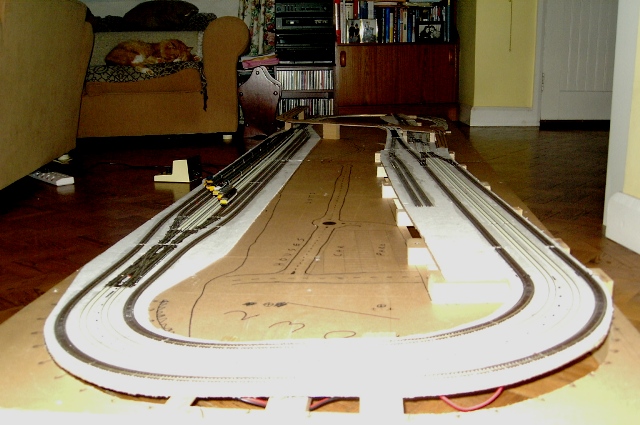
Once all the track was down, apart from the branch which couldn’t be made permanent until the mainline had been detailed and ballasted under the overbridge, some thorough testing took place using a variety of stock to ensure trouble-free running. This is the end view from the south. Note the gradient up from fiddle yard (left) to station area (right).
|
 |
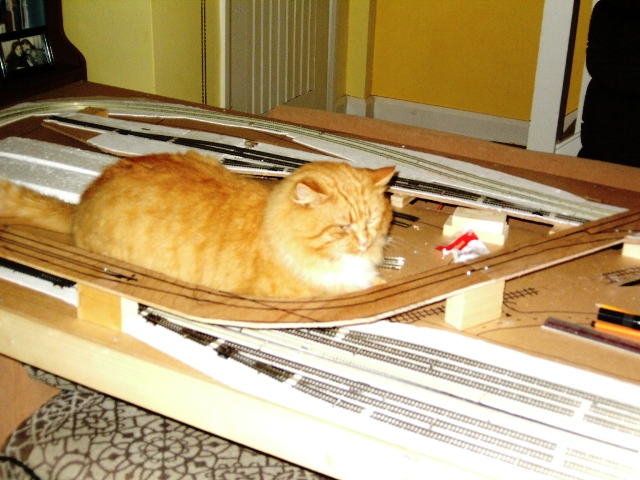 |
It was at this point that the Health & Safety Executive (Feline Branch) decided to spring a surprise inspection of the track-laying! Either that or he was wondering where all his tinned food had gone!
|
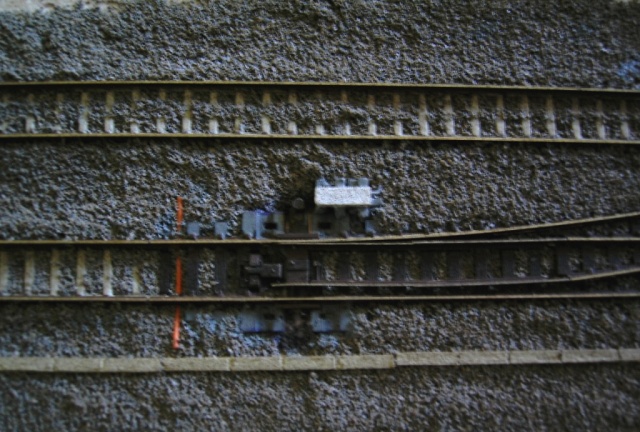
Next step was to ballast the track, adding in important details such as concrete cable troughs, orange trunking and aesthetic point motors. All rail-sides in the scenic area were painted with a deep red-brown colour to simulate a mixture of rust, brake dust and general dirt. Woodland Scenics Fine Light Grey ballast was chosen and was laid dry and brushed into place, then further tidying was done using a fingertip run along the rails with a fair amount of pressure. This was found to produce a pleasing effect by creating a raised shoulder along the edges of the sleepers just like that found along the East Coast Main Line! (see below pic) Some loose ballast was left in the middle of the track as mainline ballasting is far from neat in the real world, and a paint brush handle dragged along the middle to recreate the ‘trough’ also seen on the ECML. The ballast was pre-wetted using a mister bottle with a fine spray containing just water and a couple of drops of washing up liquid. This prevents the ballast from floating away on a sea of glue-mix later. A 50/50 mix of water and PVA (again with a couple of drops of WUL) was mixed and dropped onto the ballast using a large pipette until it was thoroughly soaked – this is the point where it looks a complete mess and you wonder if it will ever dry out!! Around points the glue-mix was applied a little more sparingly, but still well soaked apart from the tie-bar itself. Whilst the glue was drying the points were all operated back-and-forth every half hour for about 6 hours, and the result is that NONE of my points stuck solid and all operate freely.
The dummy point motor in the above pic is from Knightwing, glued in place after ballasting.
|
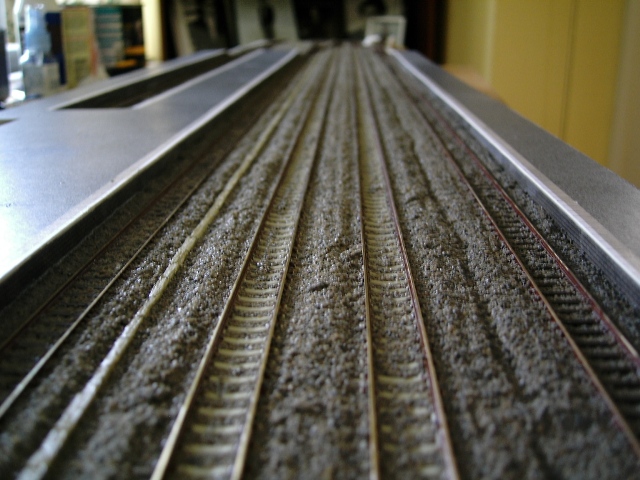
This pic demonstrates the ‘roughness’ and contours of the ballasting that I was trying to achieve, though it still needs weathering at this point. |
Finally the whole scenic track area was given a couple of coats of Railmatch Sleeper Grime to give it an overall brown hue and blend the different colours in a bit, remembering to clean it off the rail tops after. |
© Sprintex-net 2023 - Go to Sprintexnet home